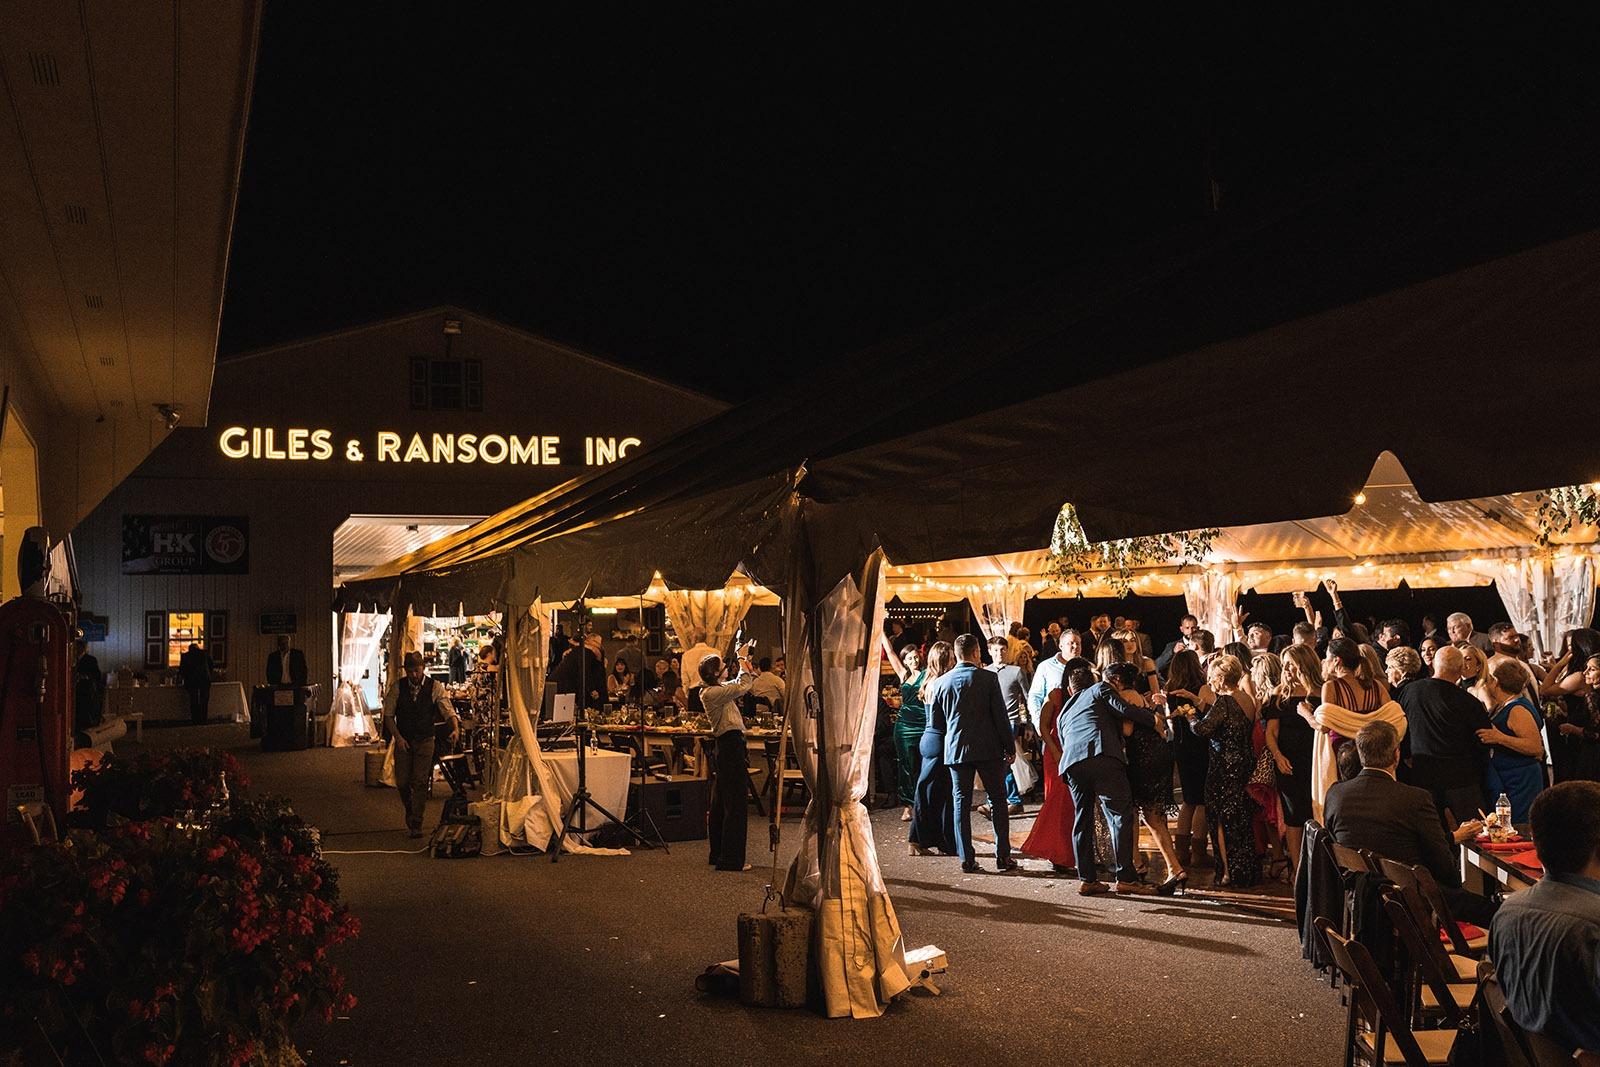
Why Seating Charts Exist
"Can't we just let people sit wherever they want?" You can. But here's what happens: families arrive and claim tables for 20 of their closest relatives, leaving awkward half-empty tables for everyone else. Shy guests wander looking for a seat. People who should not be seated next to each other end up side by side. The couple who divorced last year share a table with their new partners.
A seating chart prevents all of this. It requires effort, but it dramatically improves the guest experience.
The Process
Step 1: Wait for RSVPs
Don't start the seating chart until your RSVP deadline has passed and you have a confirmed guest count. Working with tentative numbers means you'll redo the chart multiple times.
Step 2: Know Your Table Layout
Get the floor plan from your venue. Know how many tables you have, how many seats per table, and where the dance floor, DJ, and head table are located. Table size matters: round tables seat 8 to 10, rectangular tables seat 6 to 12.
Step 3: Group by Category
Before assigning specific tables, sort your guest list into categories:
- Immediate family
- Extended family (bride's side)
- Extended family (groom's side)
- College friends
- Work friends
- Childhood friends
- Parents' friends/family friends
- Plus-ones and new acquaintances
Step 4: Assign Tables by Group
Keep groups together. College friends at one table, work friends at another. This ensures everyone has at least one person they know well and can talk to comfortably.
Step 5: Handle the Exceptions
Every seating chart has a few puzzle pieces:
- Single guests who know no one: Seat them with the most social, welcoming group at the wedding. Not the quiet table.
- Divorced parents: Different tables, ideally not adjacent. Don't make it awkward.
- Family feuds: Separate them. Opposite sides of the room if needed. Your wedding is not the place for reconciliation.
- Kids: A designated kids' table works for ages 5 to 12. Younger children sit with their parents.
Table Placement Strategy
- Head table or sweetheart table: The couple and possibly the wedding party. Placed where all guests can see them.
- Family tables: Near the front. Parents, grandparents, and siblings get the best seats.
- Friends tables: Center and back. These tables tend to be the loudest and most fun.
- Near the speakers/dance floor: Seat younger, more energetic guests here. Older guests may prefer tables farther from the noise.
Tools That Help
- Sticky notes on a poster board (the classic method, still works great)
- A spreadsheet with table numbers and guest names
- Wedding planning apps with drag-and-drop seating chart tools
- Index cards that you can physically move between table groupings
Common Mistakes
- Starting too early: Wait for confirmed RSVPs.
- Seating by obligation, not connection: Don't put two people together just because they're both from the same category. Put people together who will actually enjoy each other.
- Forgetting vendor meals: Your photographer, DJ, and coordinator need seats too.
- Ignoring plus-ones: If a guest brought a date, seat them together. Always.
The Secret
The seating chart doesn't need to be perfect. It needs to be good enough that no one is uncomfortable and the people at each table have at least one thing in common. That's it.
At The Museum at Hoppenville in Pennsburg, PA, we provide floor plans for the Bank Barn and other event spaces so you can plan your seating chart with accurate dimensions. Our team can help you visualize table arrangements for your specific guest count. Contact us to start planning.
